I'ts May, and that means Mother's Day is coming up!
I love all sort of handmade goodies from my kids and love that they poured their heart into making them. But this year, obviously there are no cute handmade gifts from school.
I was brainstorming ideas for Mother's Day and came up with handmade mugs. I love the idea of sweet homemade mugs that mamas could use everyday. I mean, what mom isn't drinking their tea of coffee every morning and heating it back up multiple times a day? That's real life friends!
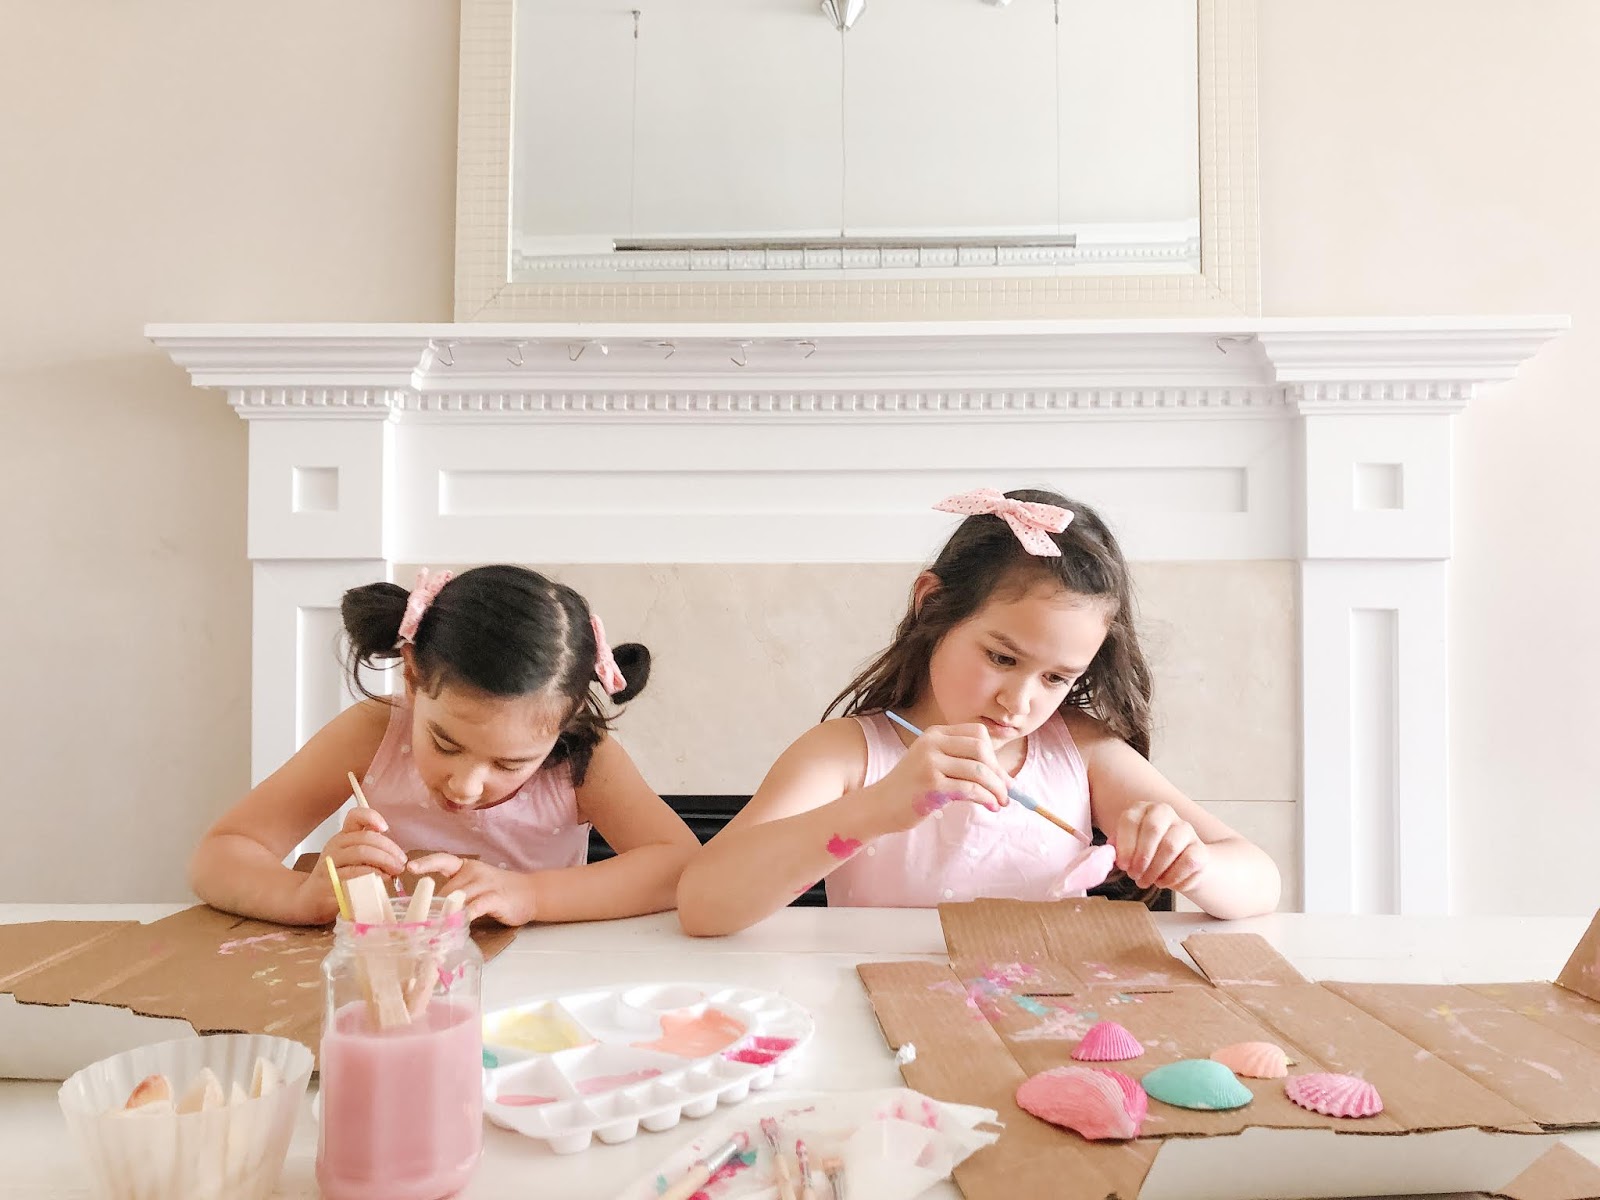
These hand painted mugs are such a fun idea and my girls loved making them for their grandmas (and for me as well. No surprises for this mama this year!) This took an afternoon to paint, and then another afternoon to bake.
Here's what you need!
SUPPLIES
MUGS (cheap ones from the dollar store or amazon work great!)
MULTI SURFACE ACRYLIC PAINT (they must be multi surface...check what the bottle says to make sure you can pain on ceramic or glass and that you can bake it to cure it. I made sure ours were dishwasher safe paint as well. My favorite brand was Folk Art)
MULTI SURFACE GLITTER ACRYLIC PAINT (We used Martha Stewart brand. Again, make sure you can bake it to cure it!)
PAINTBRUSHES
MOD PODGE
WHAT TO DO
Step 1. Wash your mugs really well and dry them completely. You want a really clean surface so paint can stick to it well.
Step 2. Flip them upside down and start painting them! We did a variety, but I think the best ones are painted halfway. You can do this with painters tape, and then peel it off afterwards. I love pastels best, but you can use any colour paint you like! This is where your kids can get really creative. It was so fun watching them! One tip - don't use any water. I allowed one paint brush for each colour and the girls shared them. You want all the paint on your mug, and no water to dilute it.
Step 3. Add your glitter paint! We dabbed it on gently to give it a natural look.
Step 4. Let dry overnight until it doesnt feel tacky at all. Then follow your instructions on your paint jar. What we did for ours: place in cool overn, heat to 350 F, and bake for 30 min. Let cool in oven and then remove.
Step 5. We haven't done this step yet (still waiting for our mod podge to arrive!) but we will coat it with mod podge and let try. Just make sure you get the dishwasher safe mod podge!
That's it! Then gift it to your favorite mama...or anyone really! We added simple twine and made some gift tags with letter stamps. These would make lovely teachers gifts, birthday gifts or favors. And even adding something to it like a pretty succulent or treats would be such a fun addition.