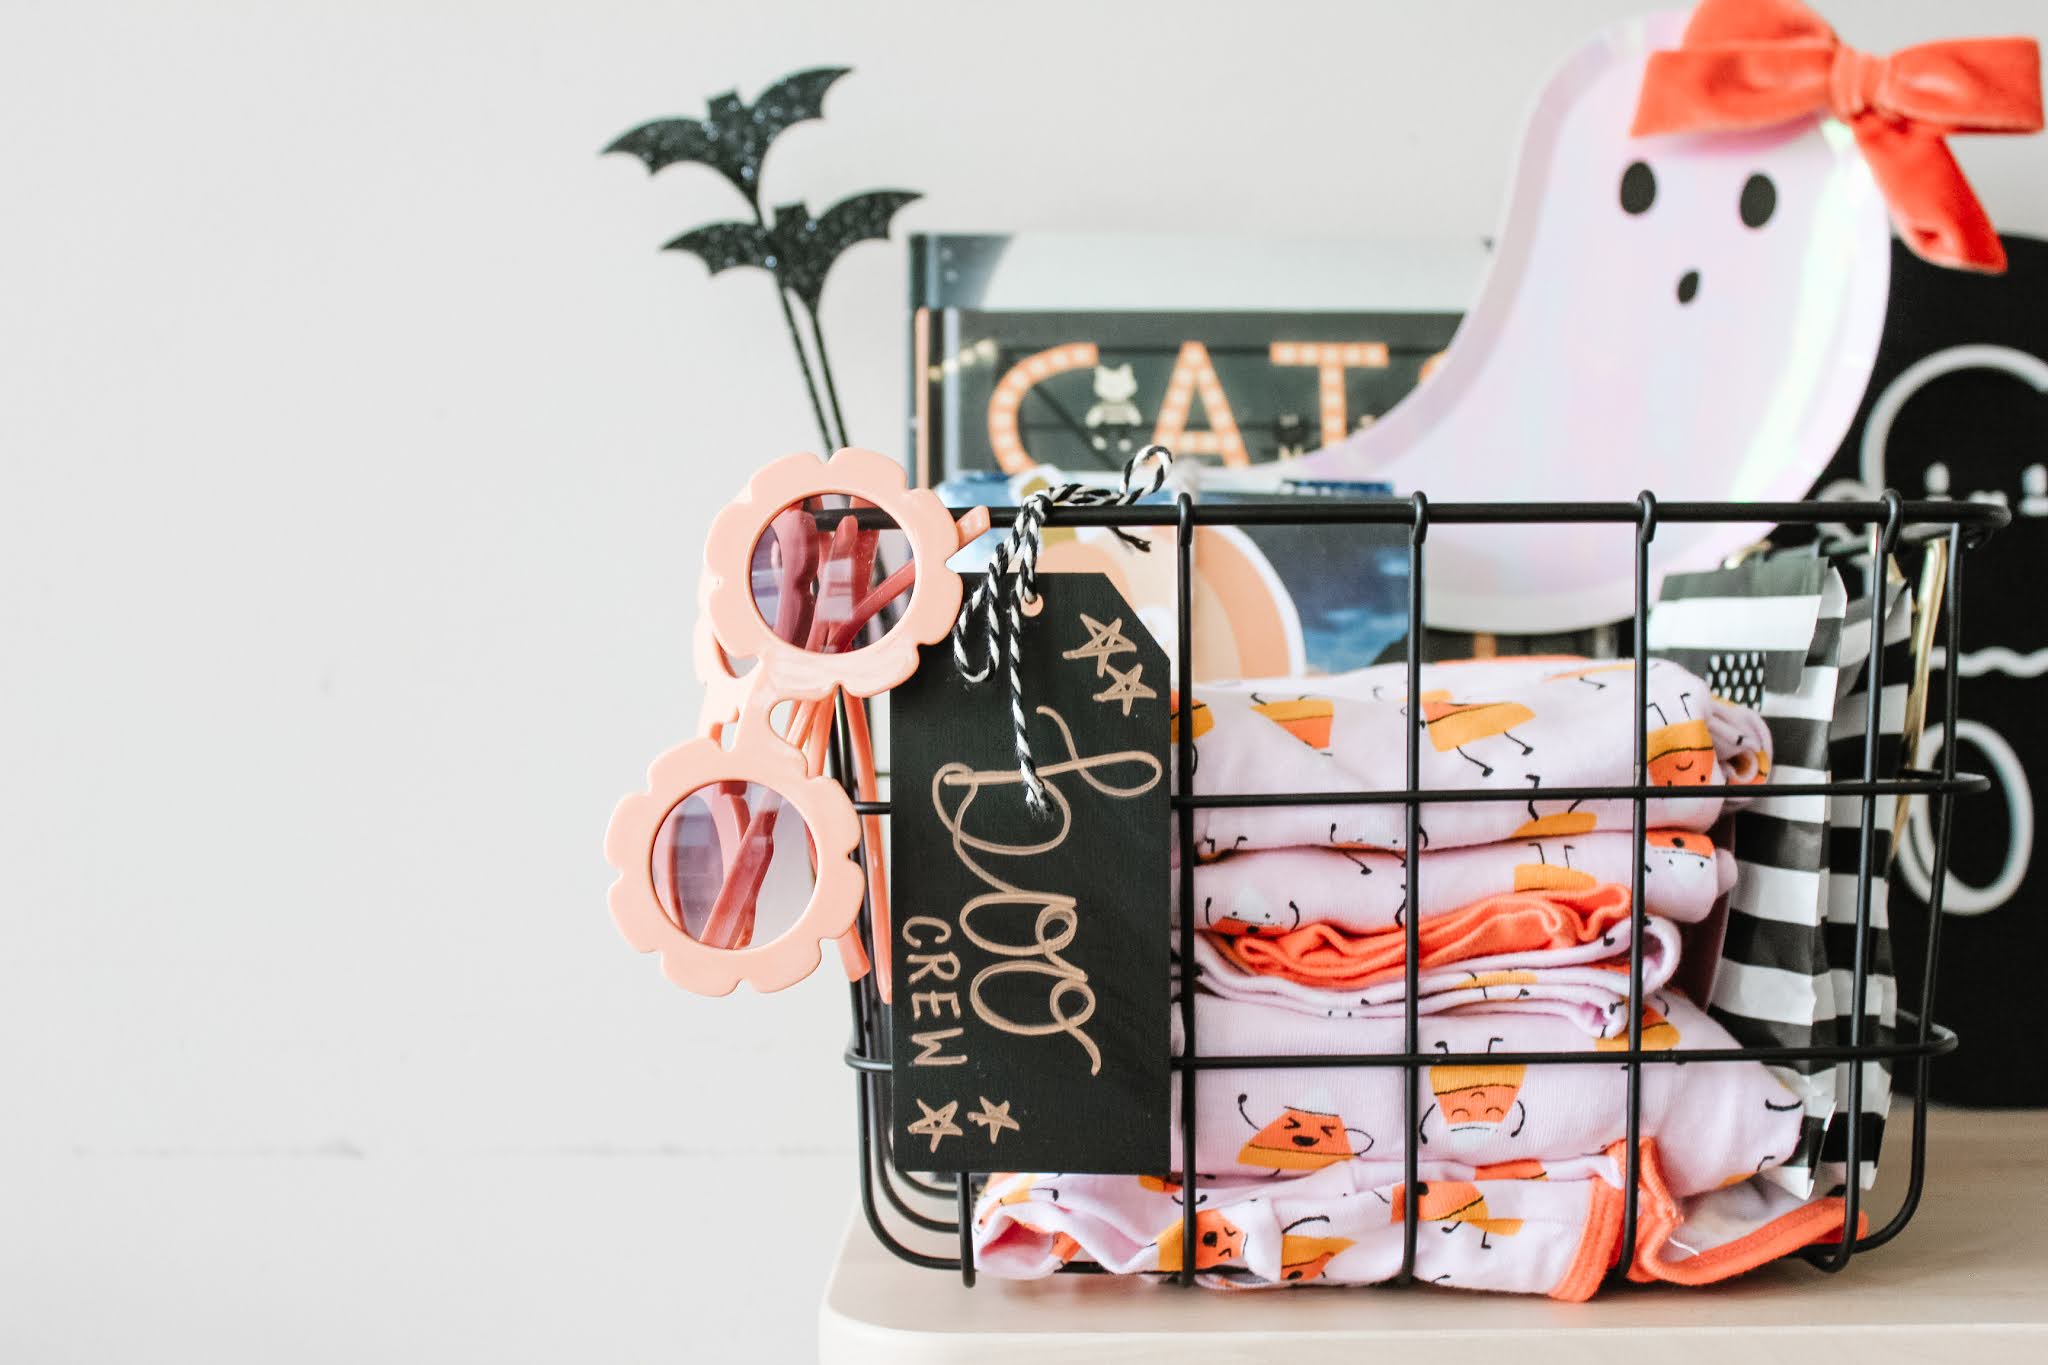
Last year, close to when Annie was born, I did a few little gifts for the kids for when we were at the hospital with her. I don't usually do too much for Halloween but it was something fun for them and now I feel like it's something I'll always remember and try to keep up with.
This year I did a big BOO basket for all the kids to share. I got them some Halloween jammies, books/dvds, accessories and I'll include a few little fun treats as well.

I've been doing some fun diy's with my kids that we're sprinkling around our home. There's something so fun and satisfying making something yourself and using it as decor around the house.
These are all really fun, easy and simple. (That's definitely my idea of a fun little project).
CHALKBOARD TAGS
I love personalizing things for me kids...and I think they love having things with their own names on it too. I honestly think it makes them feel so special.
I saw these chalkboard tags at Michaels in black and I thought they would be so fun to use for Halloween baskets. And I can envision them for so many other things as well like storage baskets, gift wrapping holiday baskets...etc!
I have been really enjoying working on my penmanship and calligraphy when I can and just tried it on these tags. They are by no means professional at all, but fun and cute...which is good enough for me!
I practiced first on a piece of lined paper, then wrote very lightly on the tags in pencils and then went over it with a metallic sharpie. Once it dried, I used an eraser and just erased my pencil markings. I cannot wait to use these tags this year!
HALLOWEEN SIGNS
I got this idea from instagram and loved how they looked! I'm not really a black/white/orange Halloween lover...but add a few softer colours like pinks and peaches...and I'm sold!
I made 3 fun little signs all using materials from Michaels.
Materials:
Thin wood board
Wood letters
Paint
Paintbrushes
Metallic Sharpie
I mixed and matched my colours until I got the peachy/pinky colours I wanted.
Attached all the materials with hot glue.
Used the same idea of calligraphy/handwriting as before...starting on paper, then lightly penciling and then going over with sharpie or paint. The sharpie was much more easy to control when writing, but the thick strokes of paint do stand out alot more!
BOO & HOCUS POCUS SIGN
I love the idea of something round going up on the walls and shelves. All our frames and furniture are so straight looking, round items always balance them out.
I love these round signs from Michaels and I have been making my own simple signs using wood letters that I paint and hot glue on. I love that I can customize the colours and write fun little sayings for each season/holiday.
I originally made the BOO sign first and loved how it turned out. Its so simple and fun.
Then I saw the spooky font letters at Michaels the other day and thougth it would be so cute to do a HOCUS POCUS sign as well. The letters were on clearance at my store which sold me on the idea. I got some wood stars, painted them as well and then glued them on too!
Happy crafting friends, and hope this give you some holiday inspo!


No comments :
Post a Comment